

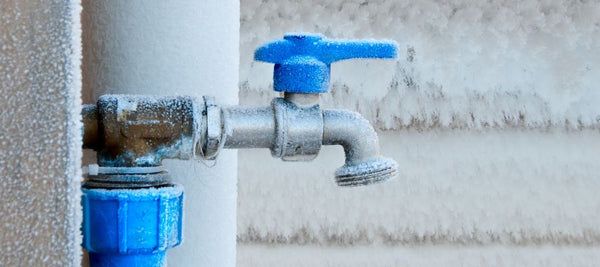
The first hard freeze rarely gives you much warning. One night the forecast dips, and by morning the spigot on the side of your house is frozen solid. Worse, the pipe behind it may have split.
The good news is that you can prevent most outdoor pipe damage with a few hours of work and a few basic supplies.
To winterize outdoor pipes means getting your exposed plumbing ready for cold weather. You drain the lines that can be emptied, and you insulate the ones that need to stay full. That covers spigots, hose bibs, irrigation lines, and any pipes that run through unheated spaces.
Why does it matter? A burst pipe can release a lot of water fast, often inside a wall or crawl space where you won't see it right away. Fixing the pipe is usually the easy part. Replacing the drywall, flooring, and insulation around it is where the real cost shows up.
In this guide, you'll learn which pipes are most at risk, how to shut off and drain outdoor faucets, how to insulate exposed pipes the right way, and what to do if a pipe freezes anyway. Plan on one weekend: Saturday for draining and Sunday for insulating.

Why Outdoor Pipes Burst in Winter
Pipes usually burst because of water pressure, not because ice pushes on the pipe wall. Water expands by about 9% when it freezes. As ice forms inside a pipe, it pushes the remaining water toward a closed faucet. Pressure builds in that trapped section until the pipe gives way.
Here's the part most people don't know: the split often happens away from the frozen spot, between the ice and the closed faucet. That's why the two jobs in this checklist matter so much. Draining removes the water that could get trapped. Insulating slows heat loss on pipes that have to stay full.
The danger zone starts around 20°F (-7°C). Water freezes at 32°F (0°C), but pipes don't freeze the moment the temperature crosses that line. Research cited by the American Red Cross puts the alert point for pipes in unheated areas at about 20°F. Wind makes it worse, because moving air pulls heat away from an exposed pipe faster.
Which Pipes Need Winterizing?
Before you buy anything, take a slow walk around your home with a flashlight. Look for these common trouble spots:
- Outdoor spigots and hose bibs. These are the most exposed pipes on most homes.
- Irrigation and sprinkler lines. Shallow lines and backflow valves freeze easily.
- Pipes in unheated spaces. Check garages, crawl spaces, attics, and sheds.
- Pipes along exterior walls. Kitchen and bathroom sinks on outside walls are frequent problem areas.
- Pool, outdoor kitchen, and well pump lines. Anything that carries water outside the heated part of the house counts.
- AC condensate and exposed utility lines. These don't always hold standing water, but worn insulation on them is worth fixing while you're out there.
Write down each spot as you find it, and note the pipe size and length. That short list becomes your shopping list for Sunday. It also tells you which pipes you can drain and which ones need insulation, which is exactly how the checklist below is split.
Your Weekend Checklist: How to Winterize Outdoor Pipes Step by Step
Saturday: Shut Off, Drain, and Disconnect
Step 1: Disconnect and drain your garden hoses. Unscrew every hose from its spigot, drain it, and store it in a garage or shed. A connected hose traps water in the faucet. Even a frost-free faucet can freeze and crack if a hose is still attached.
Step 2: Close the indoor shut-off valve for each outdoor faucet. Look in your basement or crawl space for a small valve on the pipe that runs toward the outside wall. Turn it clockwise until it stops. If you can't find one, your home may not have it. In that case, use an insulated faucet cover this winter and ask a plumber about adding a valve.
Step 3: Open the outdoor faucet and let it drain. Go outside and open the spigot fully. Let any water run out, then leave the faucet open. If the indoor valve has a small bleeder cap, place a bucket under it and loosen the cap to release the last bit of water.
Step 4: Blow out your irrigation system. Sprinkler lines need compressed air to clear them. Follow your system's instructions, or hire an irrigation pro. Too much air pressure can damage sprinkler parts, so this is a good job to hand off if you're unsure.
Sunday: Insulate the Pipes That Stay Full
Some pipes can't be drained, such as supply lines in a crawl space or pipes running along an exterior wall. Insulation is your best defense for these.
Step 5: Clean and dry each pipe. Wipe away dirt, rust flakes, and cobwebs with a rag. Make sure the surface is completely dry. Tape won't bond well to dust, frost, or moisture, so pick a dry day and work in the warmest part of the afternoon.
Step 6: Wrap the pipe in a spiral with a half-width overlap. Start at a fixed point, like the wall or a fitting. Wrap the tape around the pipe at a slight angle, overlapping each turn by about half the tape's width. Keep light, steady tension. Don't stretch the foam thin, because compressed foam insulates less.
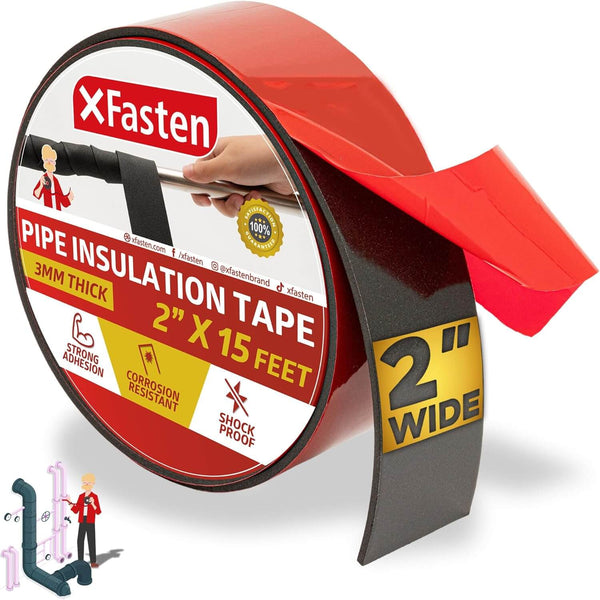
XFasten Pipe Insulation Tape is made for this job. It's a 3 mm foam tape built for outdoor pipes and AC lines, and it comes in 2-, 3-, and 4-inch widths so you can match it to the pipe you're wrapping.
Step 7: Cover the tricky spots. Elbows, tees, and valves are where foam pipe sleeves leave gaps, and gaps are where cold gets in. Tape bends around these shapes easily. You can also use it to seal the seams and ends of existing foam sleeves (Internal Link: [verify against the archive — e.g., a published post on foam seal or weatherproofing tape]).
Step 8: Press, inspect, and recheck. Press the tail end firmly so it doesn't lift. Run your hand along the wrap to feel for gaps. After the first real cold snap, check again and patch any spots that have loosened.
How Much Pipe Insulation Tape Do You Need?
A 15-foot roll does not cover 15 feet of pipe. Spiral wrapping with overlap uses much more tape than people expect. This is one of the most common reasons DIYers run out halfway through the job.
Here are rough estimates for a standard 3/4-inch copper pipe, wrapped with a half-width overlap:
| Tape width | Approximate pipe covered per 15-foot roll |
|---|---|
| 2 inches | About 4 feet |
| 4 inches | About 7 feet |
Larger pipes use more tape per turn, so you'll cover less. Add extra for every elbow, valve, and tee.
Choosing a width:
- 2-inch tape works best on small pipes, tight bends, and valves.
- 3-inch tape is a good all-around choice for most household lines.
- 4-inch tape covers larger pipes and long straight runs faster.
Measure every pipe on your list, add about 20% for fittings and mistakes, and you'll know how many rolls to buy.
Pro Tips for Extra-Cold Snaps
Insulation slows heat loss, but it doesn't create heat. If water sits still in a pipe during a long, deep freeze, that pipe can still freeze. For pipes exposed to severe cold for days at a time, pair insulation with a UL-listed heat cable installed according to its instructions.
A few more habits help during the coldest nights:
- Let a faucet drip. A slow drip on a cold-prone indoor line keeps water moving and relieves pressure.
- Open cabinet doors. Let warm room air reach pipes under sinks on exterior walls.
- Keep the heat on. If you travel, set your thermostat no lower than 55°F.
- Tag your main shut-off valve. If a pipe ever bursts, you'll want to find it in seconds, not minutes.
What to Do If a Pipe Freezes Anyway
Watch for a faucet that gives only a trickle or no water at all, frost on the pipe, or a section that looks swollen.
- Open the faucet connected to the frozen pipe so melting water has somewhere to go.
- Apply gentle heat, starting near the faucet and working back toward the frozen spot. A hair dryer, heating pad, or towels soaked in warm water all work.
- Never use an open flame, a torch, or a propane heater on a pipe. These create serious fire and safety risks.
- Call a licensed plumber if you can't find or reach the frozen section, or if the pipe has already cracked. Shut off your main water valve first.
Protect Your Pipes This Weekend, Relax All Winter
Winterizing outdoor pipes comes down to two jobs. First, drain every line you can: disconnect hoses, close indoor shut-off valves, and leave outdoor faucets open. Then insulate every pipe that has to stay full, paying extra attention to elbows, valves, and the seams of existing sleeves.
Once the draining is done, the insulating goes quickly with the right tape. XFasten Pipe Insulation Tape wraps easily around bends and fittings, and its three widths let you match each pipe on your list. Measure your pipes, grab the right rolls, and you can finish the whole job in one afternoon.
Want more cold-weather projects like this one? Sign up for the XFasten newsletter for seasonal home checklists, step-by-step guides, and practical tips delivered when you need them.



Comments
No comments yet. Be the first!