INSTRUCTIONS
- Clean the Surface: Use a mild leather cleaner to remove any dirt, dust, or oils on the surface that you plan to work on.
- Measure and Cut: Measure the length of the leather tape needed for your project. Use scissors to cut the tape to the desired length – cut slightly more than you think.
- Peel off the Backing: The XFasten Leather Tape comes with a protective backing, so make sure to peel off the backing before positioning it to expose the adhesive side of the tape.
- Position the Tape: Carefully position the adhesive side of the leather tape onto the leather item. Make sure it is aligned correctly and covers the area you want to repair or decorate.
- Smooth out bubbles (if needed): Use your fingers or a flat tool to smooth out any air bubbles trapped under the tape. This will help ensure a secure and even application.
- Press Firmly: Press the tape firmly onto the leather surface to ensure proper adhesion and pay special attention to the edges to prevent peeling.
- Trim Excess Tape (if necessary): If you have any excess tape hanging over the edges, use scissors to trim it neatly for a clean finish.
- Allow for Bonding Time: Give the adhesive some time to bond with the leather before using the item.
- Test the Repair: Once the tape has had time to bond, gently test the repaired or decorated area to ensure that the tape is securely in place.
Blog Feature
Uses for Self-Adhesive Hook and Loop Tape That You Didn't Know About
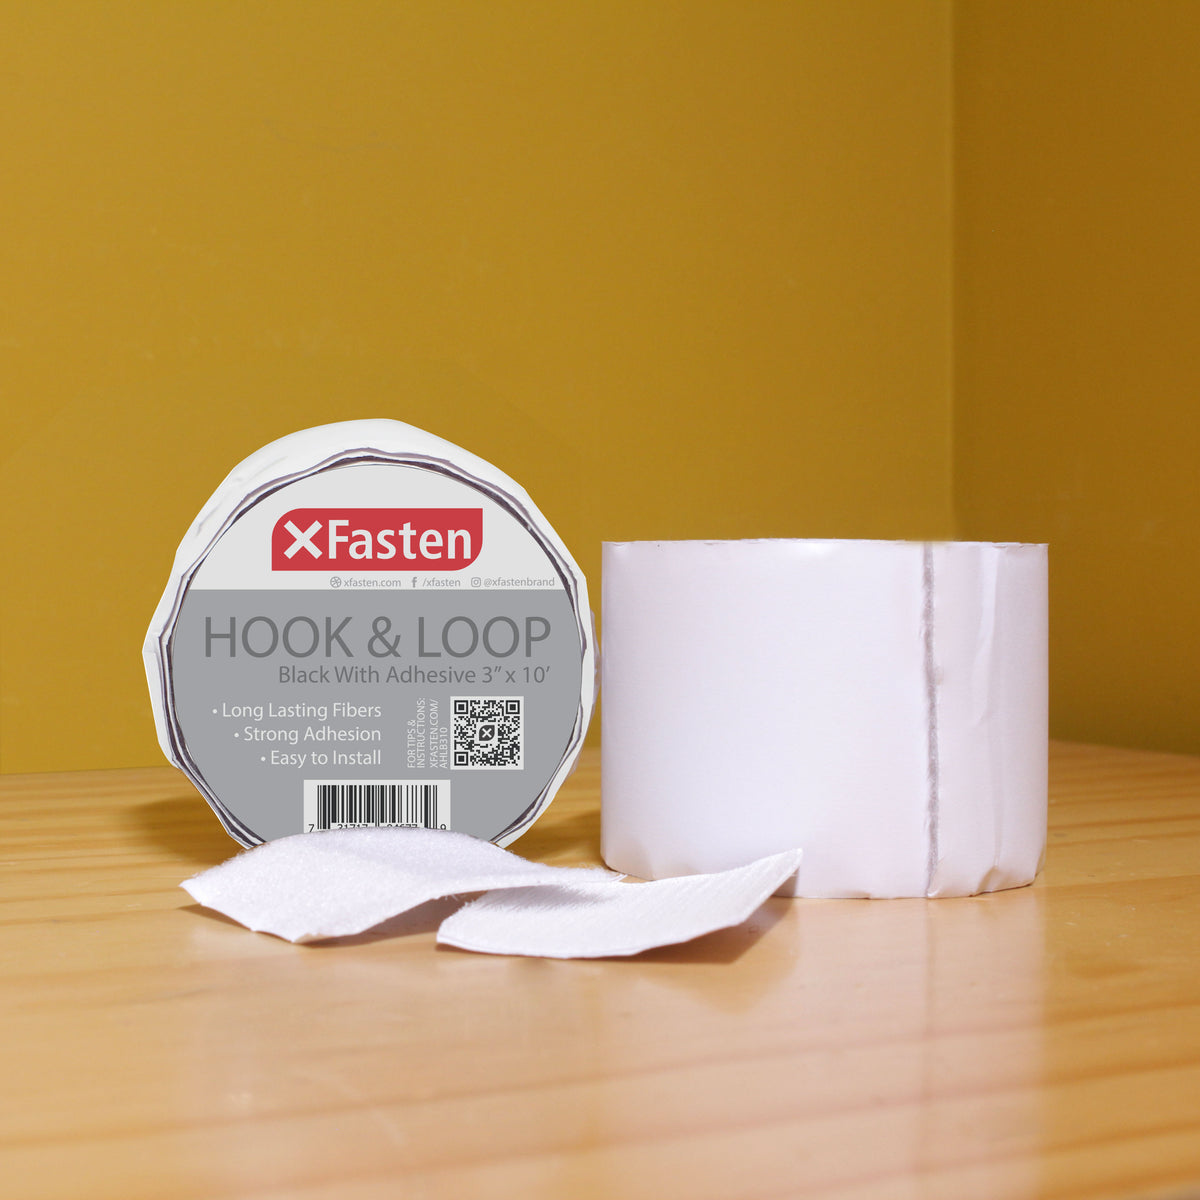
It goes by many different names: Hook & Loop Fasteners, Touch Fasteners, Hook & Pile Fasteners… whatever you like to call this versatile tape, we can all agree on one thing: it’s an extremely useful adhesive that doesn’t require any rocket science to utilize. In this article, we’re going to have an in-depth look at the Self-Adhesive Hook and Loop Tape, its uses, and how to apply it properly.


